UD Recipe Story: Couscous-Stuffed Peppers

Couscous-stuffed Peppers


I just finished having dinner about an hour ago, and I couldn’t feel more satisfied and content! I made these stuffed peppers for lunch yesterday. But because I made four pieces – and had two for lunch yesterday, I still had two more in my fridge. So, it felt great coming home at around 9 in the evening after a blogging-related meetup and not having to worry about what to eat – or to resort to a sandwich or a takeaway…I heated these babies in the oven for a few minutes and they tasted even better than when I first made them!

This is why I recommend this extremely simple recipe for a tasty and healthy dinner. I got this recipe from Good magazine, but I made some minor changes to suit my preferences.

Let’s start with the ingredients that were listed in the magazine:

IMG_7964


IMG_7965


And the instructions:

IMG_7960


Here are my ingredients for the recipe (I skipped the feta cheese and toasted pine nuts):

IMG_2291


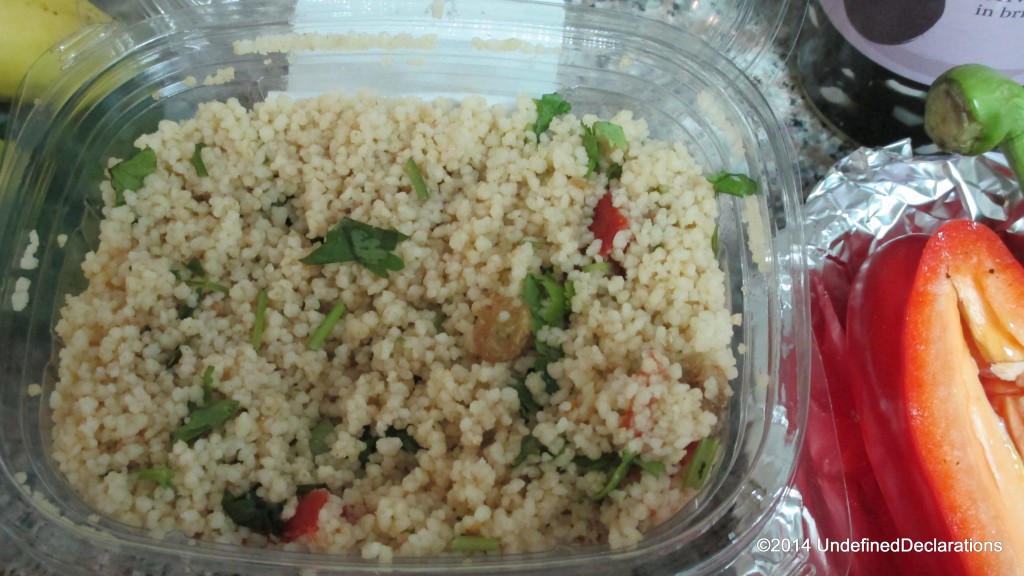
Now if you’re like me – you don’t have all the time in the world to cook your own food and you hate having to wash so many post and pans after cooking – then you can buy ready-made couscous from the store’s ready food counter ๐Ÿ˜€

Of course, for those ofย  you who prefer to make their own couscous, then by all means, go ahead. I admire you for your culinary skills and passion and I hope to reach your level one of those days ๐Ÿ™‚

As you can see in the above photo, I added capers – which I’m a huge fan of…Here’s a close-up of the ready-made couscous:


IMG_2298


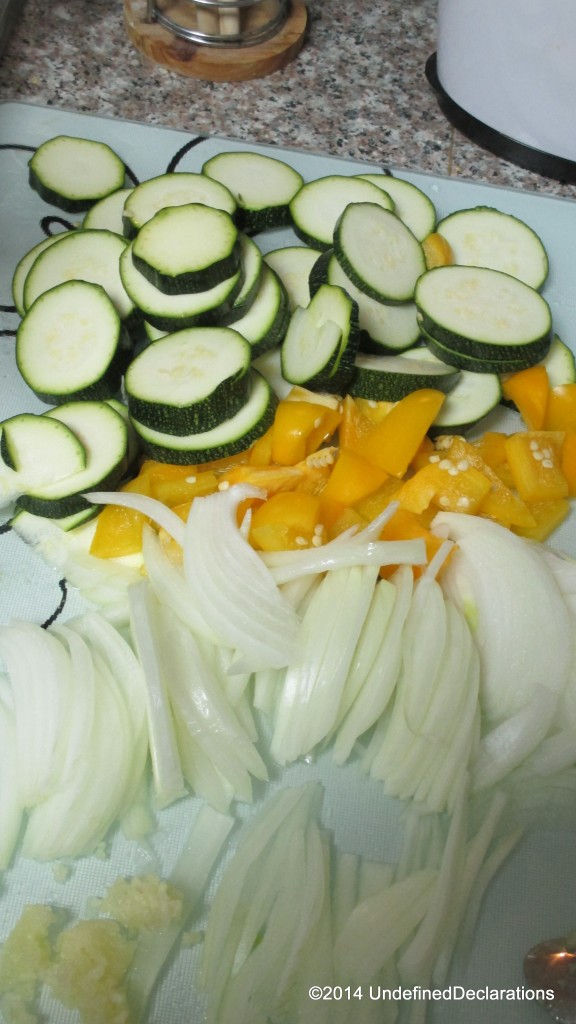
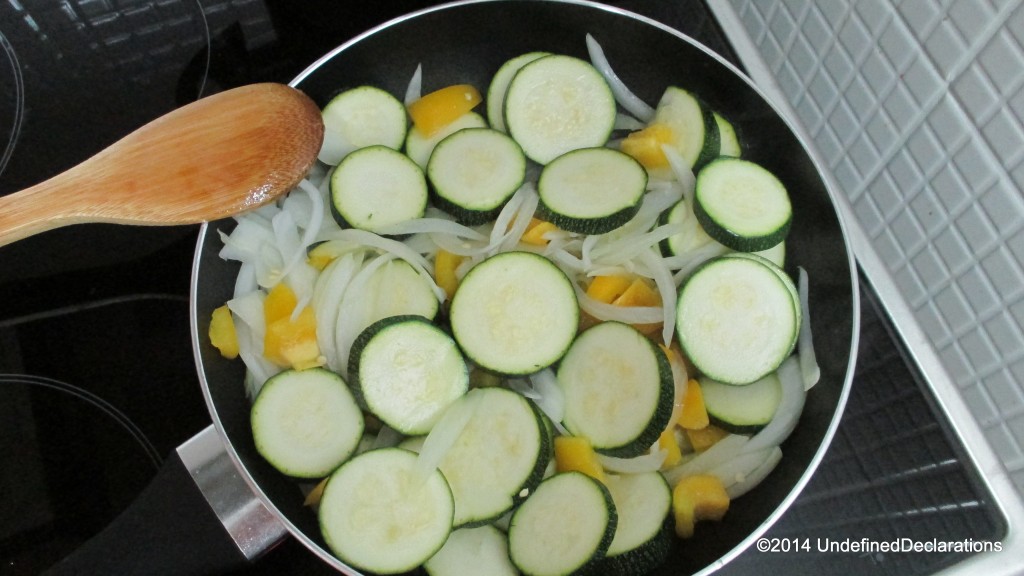
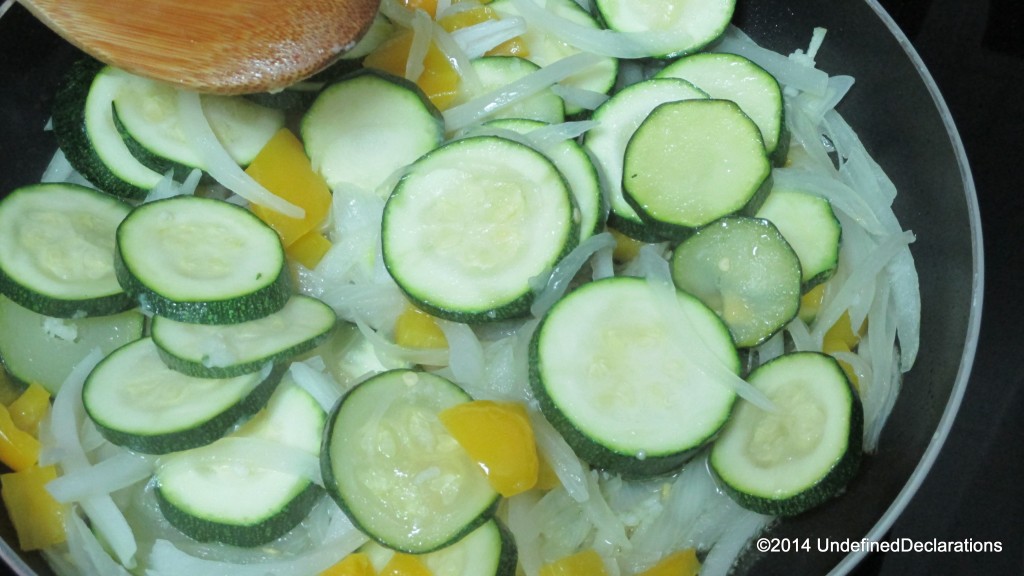
Here are my chopped veggies…I added some spring onions, parsley, and green chilies for my personal taste:


IMG_2295


I added some sea salt, freshly ground black pepper, and drizzled some olive oil to my halved red peppers before putting them in the oven:

IMG_2290


For the filling, I mixed all the ingredients in two small bowls (because I didn’t have clean large bowls) – I told you I hated washing dishes :p

IMG_2304


Next, simply stuff the roasted peppers (which I cooked in the oven for around 25 minutes) with the couscous and vegetables mixture. I added the capers, chopped olives, some salt and pepper and some lemon juice too.

IMG_2308


Finally, put the stuffed peppers back in the heated oven to bake for another 10 to 15 minutes. And voila! you’ve got your juicy, tasty and nutritious meal, which you can have for lunch teamed with a salad, or on its own for a light dinner ๐Ÿ™‚

IMG_2317


Stay tuned to the blog for more healthy, quick and scrumptious recipe posts….You might want to follow my fan page too!

Love,

The Rebellious Saudi Diva


UD Recipe Story: Vegetable Frittata

simple and tasty vegetable frittata


Do you want to know the precise meaning of the word: comfort food? If you’re a foodie like me, then you won’t be surprised when I tell you that I started making this healthy frittata late one evening – it was around 11:00 or later…I had to finalize my University’s research project the following day, so I decided to make this simple and tasty dish the night before – to save time during the day so I can work on my project.

To tell you the truth, I couldn’t have made a better decision in my life! This frittata turned out to be the first culinary creation that I make from scratch on my own and ACTUALLY like the taste of! I’ve been experimenting in the kitchen for some time, but most of the dishes I make are just OK…nothing really special. This dish however, made me feel ecstatic, satisfied and full ๐Ÿ˜€

I got this recipe from the fabulous Gourmet magazine, which I have been featured in a few months ago. You can find a photo of my appearance in Gourmet on my blog’s Facebook Page – while there, don’t forget to hit the “like” button!

The great thing about this frittata as mentioned in the feature is that it can be eaten at room temperature, or warmed up. And can easily be packed in a container to take to work or school. Also, I personally can have frittata for breakfast, lunch or dinner.

Let’s have a look at the ingredients (as taken from Gourmet magazine):

IMG_7848


And the method:

IMG_7853


To make my frittata more filling, I added some potatoes that I boiled for some time. As well as a yellow pepper that I had in my fridge ๐Ÿ™‚

Vegetable Frittata Ingredients


IMG_2249


Here are my vegetables, after they have been chopped:

IMG_2250


IMG_2253


My potatoes as they are boiling:

IMG_2263


The veggies are being sauteed…

IMG_2260


Whisking away those eggs, with some coconut milk, parsley, sea salt (which adds amazing flavor to the food) and black pepper:

IMG_2267


Then, once the vegetables are soft, you can add the potatoes followed by the egg and parsley mixture….

IMG_2273


IMG_2274


IMG_2277


After baking the frittata in the oven for 20 – 25 minutes, you are rewarded with a comforting meal that you can have over the next couple of days (if you live alone and are still not confident enough with your cooking skills to share the results with friends or neighbors) ๐Ÿ˜€

IMG_2282


I can’t describe how good it felt to have this perfect frittata at around midnight – a foodie’s dream ๐Ÿ™‚

IMG_2287


IMG_2289


IMG_7856


I hope that you will try to make this simple dish and enjoy eating it as much as I did…I’m so excited to try another recipe from Gourmet magazine. I will share it with you once I’m done from my final exam for my “Media Audiences and the Public” class. That will be on the 10th of August. Looking forward to taking a break from University assignments and exams…

Wishing you a wonderful week and see you soon X

You can still keep track of my random posts by following my blog’s Facebook Page ๐Ÿ˜€


IMG_7864